Over 52% of cryptocurrencies launched since 2021 have failed, especially in 2024 and early 2025. Innovation alone isn’t enough. Success in blockchain now demands resilience, cost-efficiency, and scalability. One way to meet these demands is by using Layer 2 solutions. That’s why learning how to build a Layer 2 blockchain matters more than ever. Layer 2 networks ease congestion, lower fees, and preserve security by offloading transactions from Layer 1. But building one takes more than just code. It requires smart planning, secure design, and architectural know-how. This guide breaks down the process of developing a Layer 2 blockchain, enabling your project to achieve high performance, fortified security, and enduring resilience.
What is Layer 2 Blockchain and How Does it Work?
A Layer 2 blockchain is a secondary framework built on top of a Layer 1 blockchain like Ethereum to improve scalability and reduce transaction costs by handling most transactions off-chain. This approach eases the burden on the main chain while still relying on Layer 1 for security and final settlement. It works by grouping multiple off-chain transactions into batches and generating cryptographic proofs such as zk-rollups or optimistic rollups to confirm their validity. These proofs are submitted to Layer 1, which verifies and finalizes the updated state, ensuring security and data integrity throughout the process.
Popular Examples of Layer 2 Solutions:
- Arbitrum: A rollup-based Layer 2 solution for Ethereum offering fast and inexpensive transactions.
- Optimism: Uses optimistic rollups to reduce gas costs and improve scalability for Ethereum-based applications.
- Plasma: A Layer 2 solution with child chains that offload activity to speed up and lower transaction costs.
Key Features of Layer 2 Blockchains
Here are some of the top features of layer 2 blockchains. These features explain why their popularity is rising so quickly:
- Transaction Speed: Layer 2 significantly increases transaction speed by reducing reliance on the base layer.
- Cost Efficiency: Transaction fees are reduced by batching or processing transactions off-chain.
- Security Reliance: Layer 2 maintains the security guarantees of Layer 1 by anchoring results back to it.
- Scalability: Supports a greater number of users and applications simultaneously.
How to Build a Layer 2 Blockchain: A Step-by-Step Process
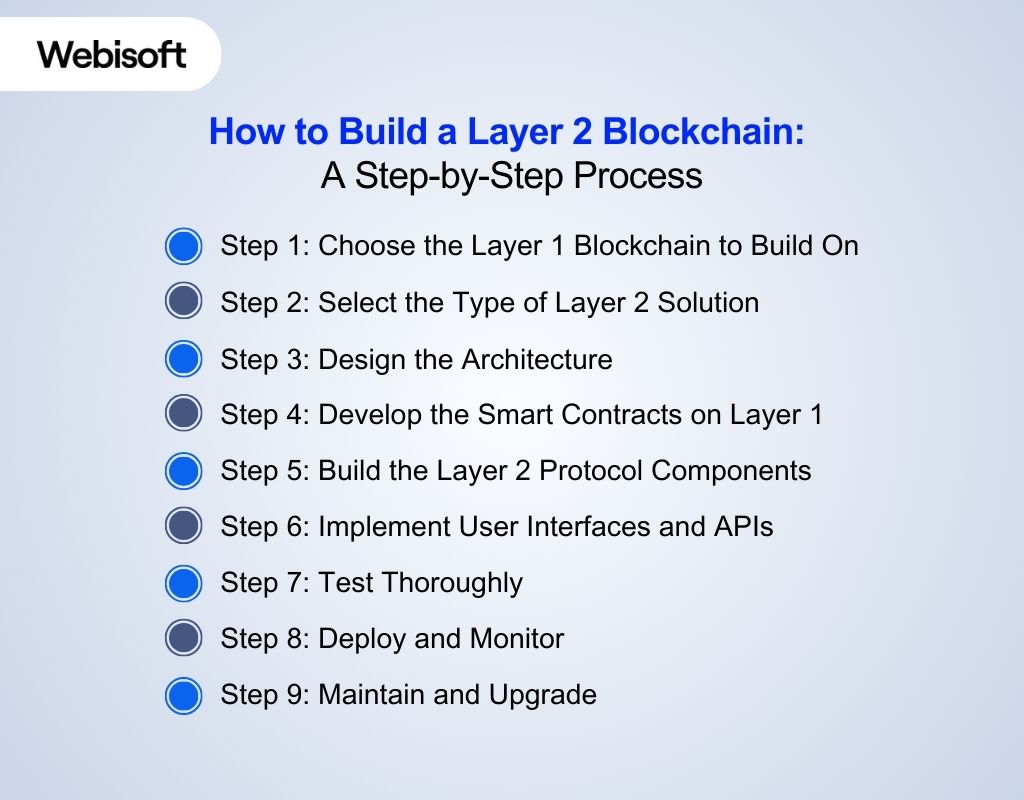
Building a Layer 2 blockchain involves multiple interconnected steps, each critical to creating a secure and scalable solution. Our blockchain experts in Webisoft have written the basic steps. But there is no way to take on this complex task. Let’s break down this complex process of how to build a layer 2 blockchain into manageable stages.
Step 1: Choose the Layer 1 Blockchain to Build On
First, you start by choosing the Layer 1 blockchain on which you want to build your Layer 2 solution. This is important because Layer 2 depends heavily on Layer 1’s security and infrastructure, so you need to know the rules and features of the underlying blockchain before moving forward. Need help choosing the right Layer 1 foundation? Webisoft’s blockchain consulting services guide you every step of the way, from selection to solution.
Step 2: Select the Type of Layer 2 Solution
Once you’ve chosen your Layer 1 blockchain, the next important step is to decide which type of Layer 2 solution you want to build. Different options like rollups, sidechains, and state channels offer various ways to increase transaction speed and reduce costs. Each type works differently, so your choice should depend on what your Layer 1 can handle and what you want to achieve with Layer 2. For example, you might prioritize faster transactions, lower fees, or stronger privacy depending on your project’s goals. To help you make the best decision, here is a quick overview of the main Layer 2 types, highlighting their benefits, drawbacks, and common use cases.
| Layer 2 Type | How It Works | Benefits | Drawbacks | Use Cases |
|---|---|---|---|---|
| Rollups | Bundle transactions, submit proof to Layer 1 | Fast, secure, cheaper | Some delay in finality | DeFi, NFTs, payments |
| Sidechains | Separate chain linked to Layer 1 | Fast, flexible | Less secure | Gaming, small payments |
| State Channels | Off-chain instant transactions between users | Instant, very cheap | Only for fixed users | Micropayments, gaming |
| Plasma | Child chains commit to Layer 1 | More transactions | Complex withdrawals | High-volume token transfers |
| Validium | Like rollups but data off-chain | Very fast, low fees | Less data on Layer 1 | Large apps needing speed |
Step 3: Design the Architecture
Once the type of Layer 2 solution is clear, you can design the overall architecture. This involves planning how Layer 2 will work internally and how it will communicate with Layer 1. You need to decide how transactions will flow, how data will be managed, and how security will be maintained. Because every Layer 1 and Layer 2 has different features, the design must fit those specific needs.
Step 4: Develop the Smart Contracts on Layer 1
Once the design phase is complete, now it’s time to develop the smart contracts that will operate on Layer 1. These contracts play a crucial role in connecting Layer 1 and Layer 2 securely. They manage important functions such as locking assets, settling transactions, and resolving disputes between the layers. By creating these contracts early, you establish a strong and reliable foundation for the interaction between Layer 1 and Layer 2. In addition, building solid smart contracts ensures the entire system remains trustworthy and secure throughout its operation. At Webisoft, we build and check smart contracts to make sure they are safe. These smart contracts help different blockchain layers work together smoothly and with trust.
Step 5: Build the Layer 2 Protocol Components
Next, you move on to building the actual Layer 2 protocol components. This is where the core logic of your Layer 2 solution comes to life. These components handle tasks like processing transactions, aggregating data, or generating proofs, depending on the type of Layer 2 you chose. Because Layer 2 must communicate and operate under the rules set by Layer 1 contracts, this step naturally follows after their development. This step is very important if you want to understand how to build a layer 2 blockchain, because it shows how everything works together to make the system faster and cheaper.
Step 6: Implement User Interfaces and APIs
Once the core system is ready, you implement user interfaces and APIs. These tools allow people to easily use your Layer 2 solution, whether through wallets, decentralized apps, or other software. It makes the technology accessible and usable for developers and end-users alike.
Step 7: Test Thoroughly
Before going live, it’s crucial to test everything thoroughly. This means checking for security issues, bugs, performance problems, and ensuring the system runs smoothly. Testing confirms that your design, contracts, and Layer 2 components all work well together without unexpected failures.
Step 8: Deploy and Monitor
When testing is successful, you deploy the system for public use. After deployment, monitoring begins to keep an eye on how the system performs in real-time, spotting any issues quickly to maintain security and stability.
Step 9: Maintain and Upgrade
Finally, once your Layer 2 blockchain is live, maintenance and upgrades become ongoing tasks. You fix bugs, improve features, and adapt to changes in the ecosystem to keep the solution reliable and efficient over time. Taking care of these tasks is an important part of building a layer 2 blockchain and keeping it working well for a long time.
Build Your Own Layer 2 Blockchain with Polygon CDK & Presto
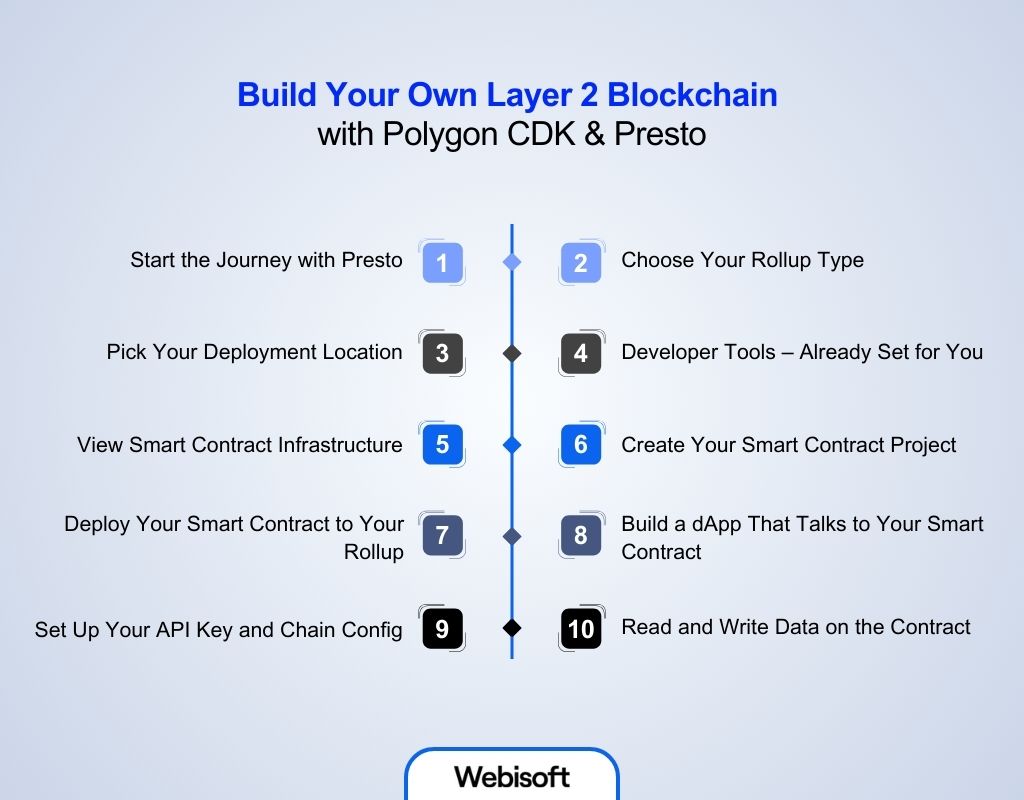
So you’ve explored the basic steps of how to build a Layer 2 blockchain. Now, we’ll show you how to do it practically using Polygon CDK and Presto.
- Polygon CDK: A powerful developer kit to create ZK-powered chains that connect back to Ethereum.
- Presto: A Rollup-as-a-Service platform that wraps the CDK in a user-friendly interface, handling deployment on AWS.
Together, these tools make the complex simple and achievable. Now, you’re ready to build your own scalable, EVM-compatible Layer 2 chain, step by step, with clear guidance. Let’s walk through this journey together.
Step 1: Start the Journey with Presto
To begin, head over to Presto, a Rollup-as-a-Service (RaaS) platform that makes it easy to build Layer 2 blockchains using Polygon CDK. After signing up, you’ll land on a dashboard, your command center. Here, click “Add new” to begin the process. This is where your custom chain’s life begins.
Step 2: Choose Your Rollup Type
Next, you’ll be asked to choose your rollup type. Currently, the available option is ZK-Validium. This type stores data off-chain but ensures correctness using zero-knowledge proofs. CDK will soon support zkEVM rollups, but for now, choose “Private zk-Validium”. This is your chain’s structure, its body.
Step 3: Pick Your Deployment Location
Now, in this tutorial on how to build a layer 2 blockchain with Polygon CDK, it’s time to decide where your chain will live. Presto offers predefined setups. Choose “Stockholm”, a pre-configured deployment that handles everything (nodes, sequencers, provers, etc.) and runs smoothly on AWS. Once selected, the system begins preparing your infrastructure. This takes time- behind the scenes, machines are spinning up, bridges are forming, and the chain is coming alive.
Step 4: Developer Tools – Already Set for You
As the infrastructure spins up, Presto also sets up the key tools your chain needs:
- RPC Endpoint
- Bridge
- Block Explorer
- Faucet
- Chain ID
Everything is provided automatically. These are your access points to build, test, and explore your rollup.
Step 5: View Smart Contract Infrastructure
Once the chain is live, Presto also gives access to the underlying smart contracts, those responsible for:
- Data availability (DA)
- Batch submission and verification to Ethereum (Layer 1)
This transparency helps you understand what’s running under the hood. Yes, this is one of the most exciting parts of learning how to build a layer 2 blockchain with Polygon CDK & Presto, watching your contract go live on infrastructure you just spun up. Well, now that your chain is fully deployed, it’s ready to host your smart contracts.
Step 6: Create Your Smart Contract Project
To deploy smart contracts, we need a Solidity project. Use this command to create it with thirdweb tools: Choose your preferred tool (like Hardhat) and explore the generated Contract.sol file. You can replace it with your own logic or try a simple one like Greeter for testing.
Step 7: Deploy Your Smart Contract to Your Rollup
With your contract ready, it’s time to ship it to your chain: Follow the prompt to link your wallet and configure your contract. You’ll need to add your rollup’s network to the thirdweb dashboard. Fill in the custom RPC URL, chain ID, and name- these are available in Presto. Before you deploy, get test funds from the faucet URL on the dashboard. Then hit Deploy Now. And just like that, your contract is live and viewable on your very own block explorer. If you want help to build safe, cost-saving smart contracts and easy deployment on popular blockchains, Webisoft’s smart contract services can support you.
Step 8: Build a dApp That Talks to Your Smart Contract
You’ve launched a chain and deployed a contract. Let’s now create a frontend app to interact with it. Run this command to generate a pre-configured thirdweb React app: Select your language and framework (e.g. Next.js + TypeScript) and open the project.
Step 9: Set Up Your API Key and Chain Config
To use thirdweb’s RPC infrastructure, get an API key from the thirdweb dashboard. Then, in .env.local, add: Now, change the default chain in _app.tsx to your custom rollup’s info. Example: Now your frontend is connected to your Layer 2 chain.
Step 10: Read and Write Data on the Contract
Inside index.tsx, use thirdweb hooks like useContract and useContractRead to interact with your deployed contract. Example code: You can now update the greeting or fetch the stored message from the blockchain. Run: Visit localhost:3000 and test your dApp, it’s live on your chain.
You Did It: A Full-Stack App on Your Own Layer 2
You started with nothing. Now you’ve:
- Deployed a Layer 2 rollup with Polygon CDK
- Shipped a smart contract to it
- Built a live dApp that talks to your chain
Your Layer 2 blockchain is not just a network, it’s now a living platform you control.
Technical Considerations for Building a Layer 2 Blockchain
To be better at how to build a Layer 2 blockchain, you must carefully address some technical factors that affect security, performance, and user trust in your Layer 2 solution. Here are the essential considerations to keep in mind.
- Security Model: Layer 2 should be as safe as the main blockchain (Layer 1), so it uses strong security methods to protect users from attacks.
- Data Availability: Transaction data must be easy to find and check by users and validators because without this, people cannot trust the system.
- Transaction Finality: You need to decide clearly when a transaction on Layer 2 is final and recorded on Layer 1 to stop problems like reversing transactions or double spending.
- Scalability Approach: Choose methods like rollups, channels, or sidechains to improve speed and efficiency. Knowing the difference between sidechain vs layer-2 helps pick the best fit.
- Interoperability: Layer 2 must work well with Layer 1, wallets, and other Layer 2 systems by using standard bridges that let them communicate easily.
- Cost Efficiency: It’s important to reduce fees when sending data to Layer 1, so grouping transactions together and compressing data helps save costs.
- User Experience: The system should be easy and quick for users to deposit, withdraw, and confirm transactions, which encourages more people to use it.
- Fraud Proofs / Validity Proofs: Using the right proofs to check that transactions are valid helps keep the system honest and secure.
- Upgradability: You need to plan how to safely update or fix your system later so that changes do not cause problems.
- Decentralization: Control should not be in the hands of one group alone because spreading control keeps the system fair and secure.
Best Practices for Building a Layer 2 Blockchain
Now that you have a complete, practical, and technical understanding of how to build a Layer 2 blockchain, it’s essential to follow proven best practices that balance security, scalability, and usability. These guidelines help you avoid common pitfalls while maximizing impact.
| Best Practice | Meaning | Benefit | Example |
|---|---|---|---|
| Clear Developer Tools | Provide straightforward tools and guides for programmers | Speeds up development and integration | User-friendly SDKs and detailed documentation |
| Real-Time Monitoring | Track blockchain performance and activity continuously | Detects issues early for quick response | Dashboards showing network status and errors |
| Community Governance | Involve users and developers in decision-making processes | Increases fairness and trust | Voting systems or decentralized governance models |
| Modular Design | Design the system in separate parts that can be updated independently | Allows easy upgrades and customization | Separate modules for consensus and data handling |
| Regulatory Compliance | Follow legal rules and protect user privacy | Avoids legal problems and builds user confidence | Adherence to data privacy laws and regulations |
How Webisoft Supports Your Blockchain Growth
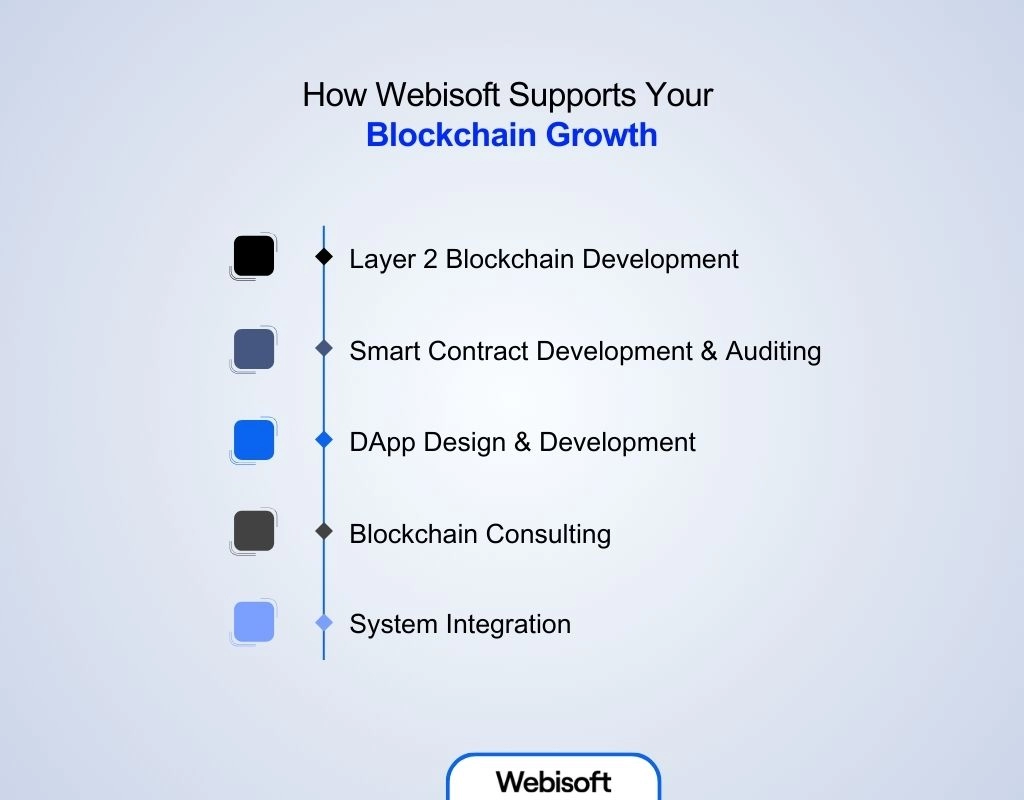
Layer 2 is one way to make blockchain systems faster and more efficient. But growing a successful blockchain project takes more than that. That’s where Webisoft can help. With strong experience in blockchain development services, they help businesses build reliable, secure, and future-ready solutions. Here’s how Webisoft can support your next step:
- Layer 2 Blockchain Development: Webisoft builds fast and low-cost Layer 2 blockchain systems that help your app or project run better. These are made to match your business needs from start to finish.
- Smart Contract Development & Auditing: They write and check smart contracts that work on Layer 2 networks, making sure they run smoothly, safely, and quickly.
- DApp Design & Development: Webisoft creates apps that work on Layer 2 blockchains, so users get faster service and lower fees, without losing security.
- Blockchain Consulting: They give expert advice to help you choose the right tools, plan your project, and decide if Layer 2 is the right option for you.
- System Integration: Webisoft helps connect your Layer 2 system with your current tools or Layer 1 blockchain, so everything works together easily and securely.
In Closing
Building a Layer 2 blockchain makes networks faster and cheaper without losing security. Knowing how to build a layer 2 blockchain and following the right steps from planning to smart contracts, sets you up for success. This guide simplifies the process so you won’t feel lost. If you want to know how to do layer 2 well and how to build on the blockchain effectively, these steps will lead you there. And with expert help from teams like Webisoft, you’ll move smoothly from concept to scalable blockchain solutions.
Frequently Asked Questions
Layer 2 stays safe by regularly sending proof of its transactions to the main blockchain (Layer 1). This lets the main chain check that everything Layer 2 did is correct, so even though transactions happen off-chain, the security of Layer 1 protects them.
Developers usually use Solidity for smart contracts, Rust and C++ for building Layer 2 systems, and JavaScript or TypeScript for creating tools and apps that work with Layer 2. Some layer 2 solutions also use special languages like Cairo for advanced tasks.
Yes, setting up Layer 2 is more difficult because you need to build systems that work both off the main blockchain and connect safely back to it. This requires extra coding and managing how data and proofs move between Layer 2 and Layer 1.
Layer 2 can run smart contracts, but it depends on the type. Some Layer 2s can run most smart contracts like Layer 1 but may be slower to confirm them. Others run faster but may only handle simpler contracts for now.
Layer 2 can face risks like missing important data needed to check transactions, slow or failed fraud checks, mistakes in contracts on Layer 1 that control Layer 2, risks if one group controls transaction order, and possible problems when moving assets between Layer 1 and Layer 2.
