Share
How to Build a Crypto Wallet: A Guide to Secure Crypto Wallet

- BLOG
- Blockchain, Cryptocurrency Development
- October 13, 2025
Managing digital assets securely is a growing concern as crypto adoption continues to rise. Whether you’re building for users or for yourself, knowing the types of crypto wallets and how to build one is a powerful skill in the Web3 space.
So, how to build a crypto wallet? To build a crypto wallet, you need to create a secure app that can generate public-private key pairs, store them safely, connect to blockchain networks, and allow users to send, receive, and manage cryptocurrencies.
In this guide, you’ll get a clear breakdown of each step—from setting up the backend and managing keys to integrating blockchain networks and user interfaces.
Contents
- 1 Types of Crypto Wallets
- 2 Choosing the Right Type of Crypto Wallet
- 3 Pre-Setup Checklist Before You Start Building a Crypto Wallet
- 4 How to Build a Crypto Wallet in Step-by-Step (Hardware Crypto Wallet)
- 5 How to Build a Crypto Wallet (Software Crypto Wallet)
- 6 How to Build a Custom Crypto Wallet
- 6.1 Step 1: Set Up Your Frontend Project
- 6.2 Step 2: Add Wallet Connectivity
- 6.3 Step 3: Fetch Wallet Data (Balances, Addresses, etc.)
- 6.4 Step 4: Enable Transactions and Interactions
- 6.5 Step 5: Add Smart Contract Support (If Needed)
- 6.6 Step 6: Handle Security + UX
- 6.7 Step 7: Test Everything on a Testnet
- 6.8 Step 8: Ship It, Monitor It, Improve It
- 7 How Webisoft Can Help You with Building a Crypto Wallet
- 8 Final Words
- 9 FAQs
Types of Crypto Wallets
Here are three widely used types of crypto wallets with their definitions, ideal users, and pros and cons:
1. Hardware Wallets
A hardware wallet is a physical device designed to store your crypto’s private keys completely offline. It looks like a USB stick and connects to your computer only when you want to send or receive crypto.
Since your keys are never exposed to the internet, it provides a high level of protection against hackers, phishing, and malware.
Who is it for?
This wallet is ideal for long-term holders or anyone managing a large crypto portfolio. If you’re focused on security and don’t need constant access to your funds, a hardware wallet is the safest option.
Pros & Cons of Hardware Wallets:
| Pros | Cons |
| Private keys stay offlineVery secure from hackingGood for long-term storageWorks with many coins | Easy to misplace the deviceLess convenient for daily use |
2. Software Wallets
A software wallet is a digital application that stores your private keys on a device like your phone or computer. It’s always connected to the internet, which means you can access your crypto anytime.
Software wallets are often used as browser extensions or mobile apps, and they’re popular for their speed and convenience.
Who is it for?
Software wallets are best for active users—people who trade frequently, interact with dApps, or just want quick access to their funds. It’s a great option if you’re new to crypto and want something easy to use.
Pros & Cons of Software Wallets:
| Pros | Cons |
| Easy to set up and useFree and accessibleWorks with dApps and exchangesSupports many cryptocurrencies | Needs regular updatesDepends on internet access |
3. Paper Wallets
A paper wallet is a printed document that holds your private and public keys. Think of it as your wallet on paper—there’s no software, no hardware, just your keys printed or written down and stored somewhere safe.
Since it’s offline by default, there’s no way for hackers to get in through the internet.
Who is it for?
Paper wallets are useful for people who want to store crypto and forget about it. If you’re holding funds for the long haul and won’t need regular access, this old-school method works—if handled carefully.
Pros & Cons of Paper Wallets:
| Pros | Cons |
| Completely offline (very secure)Immune to hacking or malwareNo device or software neededGreat for long-term cold storage | Not beginner-friendlyRequires extra care to handle |
Choosing the Right Type of Crypto Wallet
Not all wallets are built for the same purpose. The right one for you depends on how you use crypto, how often, and how much you’re holding. Here’s a quick chart on how to pick the right one:
| Factors | Best-Suited Wallet Type | Why It Is The Best |
| Security | Hardware Wallet | Keeps private keys offline, reducing risk of hacks |
| Convenience | Software Wallet | Always connected, fast access, easy to use for daily transactions |
| Cost | Software or Paper Wallet | Most software wallets are free; paper wallets are nearly zero-cost |
| Blockchain Compatibility | Custom Wallet or Software Wallet | Custom wallets can be built to support specific chains; good software ones do too |
| Multi-Coin Support | Software Wallet or Custom Wallet | Many apps like Trust Wallet support hundreds of tokens; custom builds are flexible |
| User Experience (UX) | Software Wallet (beginner-friendly ones) | Apps like MetaMask or Rainbow are simple and intuitive |
| Backup & Recovery | Hardware Wallet or High-Quality Software Wallet | Both offer secure seed phrase backup features |
| Open Source Option | Open-source Software Wallet (e.g., Electrum, MetaMask) | Transparent and audit-friendly for advanced users |
Recommendations for Beginners vs. Experienced Users
If you’re just starting out, go with a software wallet like MetaMask or Trust Wallet. They’re easy to set up, beginner-friendly, and perfect for learning the basics.
On the other hand, in case you’ve been in crypto for a while, or you’re holding large amounts, consider using a hardware crypto wallet. It adds an extra layer of protection and peace of mind.
Some advanced users even use both—a software wallet for daily use and a hardware wallet for savings. That way, you get the best of both types of crypto wallets.
Pre-Setup Checklist Before You Start Building a Crypto Wallet
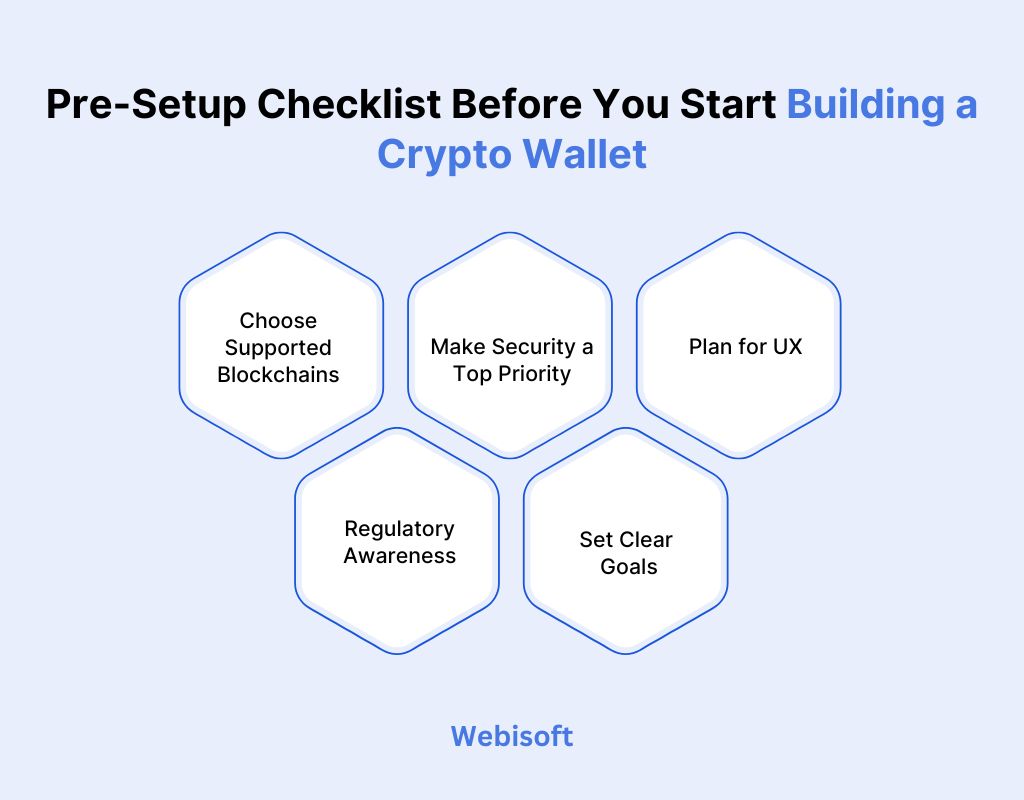
Deciding the right type of crypto wallet isn’t enough to start the steps of crypto wallet development. Here’s what you should lock down before you write a single line of code:
Choose Supported Blockchains
Are you building for Bitcoin, Ethereum, Solana, or a multi-chain setup? Each blockchain has different protocols, libraries, and community expectations.
Supporting multiple chains adds flexibility but increases complexity. Be clear on which tokens, NFTs, or smart contracts your wallet should interact with.
Make Security a Top Priority
Security isn’t optional—it’s the core of your wallet. Decide how keys are generated and where they’re stored (device, secure enclave, MPC, etc.).
Use a 12 or 24-word recovery phrase. Add multi-factor authentication (MFA) to reduce risk. For mobile, think about using biometrics like Face ID or fingerprint login.
Also, decide how keys are generated and stored. That part matters more than most people think.
Plan for UX (User Experience) Early
Security is critical, but if your wallet feels clunky, people won’t use it.
Onboarding, wallet creation, and backup flows should be smooth. Think about how users interact with wallets today—expect biometric logins, one-click copy-paste, and QR scanning. Match those expectations.
Regulatory Awareness
If you’re targeting users in specific regions, understand the legal side. Some jurisdictions have KYC, AML, or tax-reporting requirements—even for wallets. It’s better to be aware now than to scramble later.
Set Clear Goals
Is it a personal tool, a public app, or part of a bigger platform (like an exchange or dApp)? Your tech choices, design, and scope will all depend on this answer.
How to Build a Crypto Wallet in Step-by-Step (Hardware Crypto Wallet)
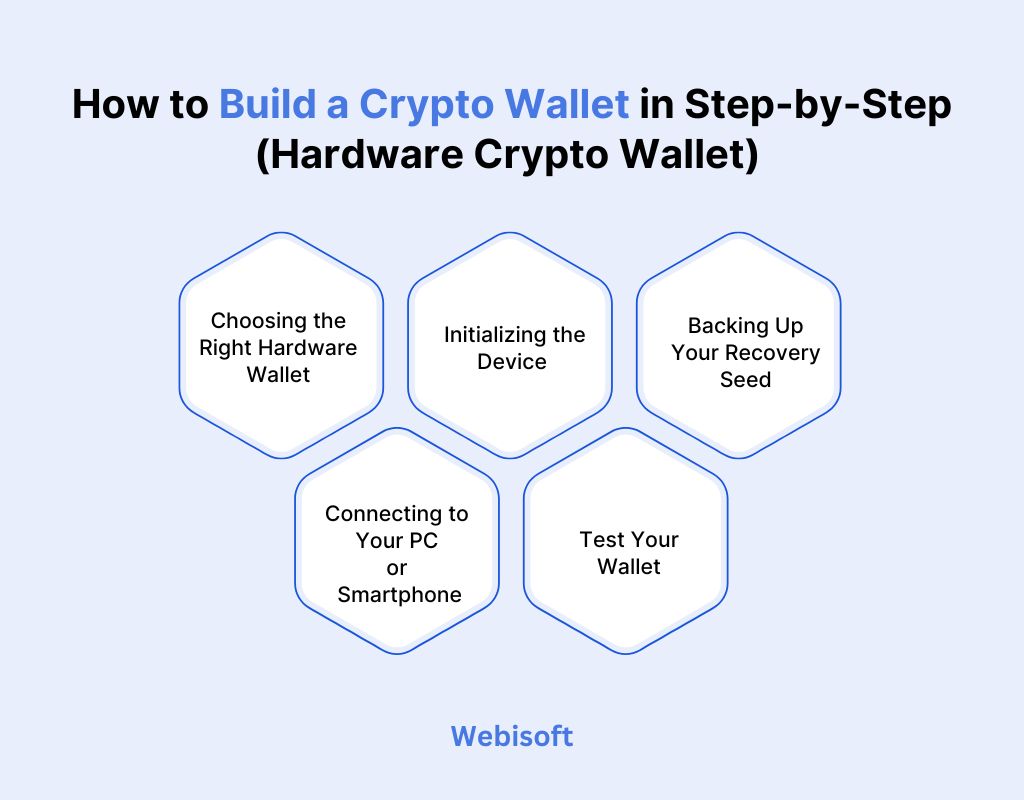
After finishing the pre-setup steps, follow the following steps on how to create a crypto wallet app for the hardware edition:
Step 1: Choosing the Right Hardware Wallet
Don’t just grab the cheapest wallet on Amazon and call it a day. Brands like Ledger and Trezor have earned their reputation for a reason—battle-tested security, regular updates, and solid customer support.
Look for features like open-source firmware, secure element chips (SEs), and compatibility with the coins you actually use. If you’re into NFTs, DeFi, or using multiple blockchains, double-check compatibility first.
Step 2: Initializing the Device
When you take the wallet out of the box, your wallet won’t store anything yet. The first thing you do is initialize it, which usually means setting up a PIN and generating your recovery seed.
Do this offline, directly on the device screen. Never trust wallets that require setup through a website or app alone. And don’t use any device that comes with a “pre-printed” seed phrase. That’s a red flag!
You’ll be asked to create a PIN and generate your recovery seed (the 12 or 24 words). It may take 5 minutes or more to create the password. When creating the pin, remember the following cautions:
- Don’t let anyone else see the screen.
- Don’t set it up on a used or opened device.
- Don’t screenshot or copy the seed anywhere digital.
Step 3: Backing Up Your Recovery Seed
This is your lifeline. If you lose your hardware wallet but have the seed phrase, you’re fine. But if you lose both? Your crypto is gone. Forever. No reset button. No customer support.
So, you must treat your wallet seed like a vault key and secure it safely and carefully.
Write it down—by hand—on paper or, better, stamp it into a metal backup plate (plenty of solid ones on the market). Some people may think that taking a screenshot or emailing it to themselves is probably the most secure way.
But that’s more risky. You must store it offline, somewhere safe and ideally fire/water-resistant.
Step 4: Connecting to Your PC or Smartphone
Most wallets connect via USB or Bluetooth and use companion apps like Ledger Live or Trezor Suite. These apps don’t store your crypto—they just let you view balances and approve transactions.
When you plug it in, make sure it’s the official app. There are fake ones out there that look pretty convincing. And when you’re updating firmware, always go through the official site—not random links or shady emails.
Step 5: Test Your Wallet
Before transferring your full crypto stash, send a small test amount. Just enough to confirm the wallet can receive and send funds properly. It’s a basic step; but a smart one.
How to Build a Crypto Wallet (Software Crypto Wallet)
A software wallet lets you hold crypto without needing a physical device or third-party exchange. But how do you create a crypto wallet? Here are 3 simple steps:
Step 1: Choose a Software Wallet That Fits You
There are dozens of wallets out there—but not all are created equal. Some are browser extensions, others are mobile apps, and a few work across both.
Start with trusted names like MetaMask, Trust Wallet, or Rabbi if you’re dealing with Ethereum or EVM-compatible chains. Phantom is great for Solana. And if you want a multi-chain option, Keplr or Exodus are worth checking out.
Simply put, pick a wallet based on what chain you’re using and how you plan to use it. Are you buying NFTs? Using DeFi? Just holding coins? Match your needs with the wallet’s features.
Step 2: Download and Set It Up
Once you’ve picked your wallet, go straight to the official site or app store to download it. There are tons of fake versions floating around—don’t get tricked.
After installing, the wallet will prompt you to create a new wallet. This usually involves:
- Setting a strong password (think passphrase, not “qwerty123”)
- Backing up your recovery phrase — usually 12 or 24 words.
Write the phrase down on paper. You must not copy it into your Notes app, don’t email it to yourself, and don’t screenshot it. That phrase is your only way to recover your wallet if your phone or computer is lost or wiped. It’s where most people mess up. Don’t be that person.
Step 3: Secure It and Take It for a Spin
Before you load any real money into the wallet, test it. Send a small amount of crypto in, check that it appears correctly, and then try sending it out.
Make sure you understand how to approve a transaction and double-check addresses before sending. Then secure everything:
- Enable biometrics or 2FA if your wallet supports it
- Store your recovery phrase offline
- Don’t keep all your funds in one wallet—especially if you plan to interact with sketchy dApps
How to Build a Custom Crypto Wallet
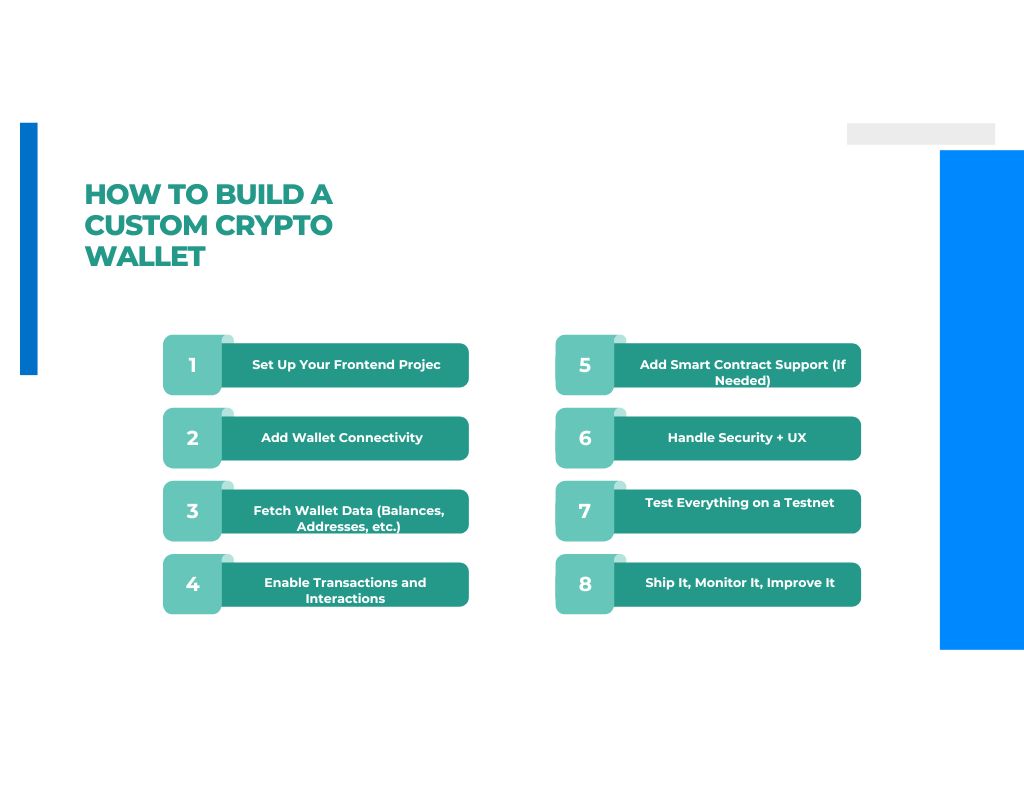
Want to build your own crypto wallet instead of using a pre-built one? Here’s a step-by-step guide on how to build a crypto wallet from scratch:
Step 1: Set Up Your Frontend Project
Start with a solid frontend framework like React or Next.js. This will power the wallet’s interface — where users connect, see balances, and send crypto.
You’ll also need Ethers.js or Web3.js to handle blockchain interactions. Think of these libraries as the bridge between your app and the Ethereum blockchain.
Step 2: Add Wallet Connectivity
Your wallet needs to talk to real wallets — like MetaMask or mobile options. Integrate MetaMask for browser-based users, and WalletConnect for mobile. You can use libraries like Web3 Modal or Wagmi to simplify the connection logic and manage the wallet state cleanly.
Step 3: Fetch Wallet Data (Balances, Addresses, etc.)
Once connected, the app should pull in basic wallet info — like the user’s address and ETH or token balance. This gives the user confidence that their wallet is connected and working.
You’ll also want to detect the network (e.g., Ethereum mainnet or a testnet) and show warnings if it’s the wrong one.
Step 4: Enable Transactions and Interactions
Now, give users the ability to do things — like sending ETH, signing messages, or interacting with smart contracts.
This is where your wallet starts feeling functional. You can start with basic sending or receiving and later integrate contract actions like staking, minting, or swapping.
Step 5: Add Smart Contract Support (If Needed)
If your wallet is meant to interact with specific smart contracts (e.g., token transfers, NFT mints), you’ll need to include the contract’s ABI and address. Then let the user trigger functions from the UI — like clicking a “Mint NFT” button that calls a contract method.
Step 6: Handle Security + UX
During the custom crypto wallet creation, you need to make sure of a few things to make your wallet user-friendly. Ensure users can —
- See their current network
- Get feedback on transactions
- Reconnect if needed
- Avoid dangerous behaviors (e.g., switching accounts mid-action)
Also, don’t store any private keys or sensitive data locally. Your app should never touch a private key directly.
Step 7: Test Everything on a Testnet
Before going live, switch your app to a testnet like Goerli (for Ethereum) or Mumbai (for Polygon). Use faucets to get test tokens and simulate real interactions. Fix bugs and polish the UX before touching real money.
Step 8: Ship It, Monitor It, Improve It
Once it’s working, launch it. Then add things like:
- Transaction history
- Multi-chain support
- Token lists
- Error handling
- QR code wallet connects
How Webisoft Can Help You with Building a Crypto Wallet
If you’re building a crypto wallet from scratch, you already know it’s not just about connecting to the blockchain. It’s about security, UX, integration, compliance, and future scalability.
Hence, you need to opt for professional crypto wallet development services, and that’s exactly where Webisoft comes in. Why should you trust Webisoft? Here are the reasons:
Deep Expertise in Web3 Development
Webisoft has hands-on experience designing and developing both custodial and non-custodial wallets—from mobile apps to browser-based extensions.
They understand the ins and outs of blockchain protocols like Ethereum, Solana, and Avalanche, and know how to build secure, scalable infrastructures on top of them.
Full Stack from Frontend to Blockchain Layer
Whether you need a wallet connection via MetaMask, custom smart contract integration, or backend transaction handling, Webisoft covers the full development lifecycle.
Their team works with technologies like Solidity, Rust, and Go—paired with modern UI frameworks like React and React Native—to build secure, high-performance crypto wallet experiences across web and mobile.
Focus on Security, Testing & UX
Security isn’t an afterthought. Webisoft applies best practices from day one. They use smart contract languages like Solidity and Rust to build secure logic while making sure key management and user data protection are handled with precision.
Their team tests apps thoroughly on practical testnets like Goerli, Mumbai, and Fuji before launch—so nothing ships with guesswork.
Flexible Support: MVPs, Scaling, or Full Ecosystems
Just starting out? They’ll help you ship a lean MVP quickly. Already launched? They can optimize or scale what you’ve got.
Want more than just a wallet? Webisoft has the team to build out full Web3 ecosystems, including smart contracts, dApps, dashboards, and integrations with DeFi, NFTs, or staking tools.
Proof of Delivery
Webisoft has already helped crypto startups and fintech teams launch blockchain products that handle real money, not just test tokens.
From custom wallets to end-to-end DeFi platforms—they know how to ship products that work in production.
Final Words
In conclusion, knowing how to build a crypto wallet means understanding security, usability, and the tech behind Web3. It’s not just a side feature—it’s the backbone of your users’ blockchain experience.
With the right tools and guidance, building your own wallet is completely achievable. From choosing the right stack to integrating smart features and testing on real networks, every decision helps shape the final product.
Need help from a professional team that has done this task before? Connect with Webisoft and build a wallet that’s made to last.
FAQs
Here are some commonly asked questions regarding how to build a crypto wallet —
Do you need coding skills to build a crypto wallet?
Yes, basic knowledge of JavaScript, blockchain libraries like Ethers.js or Web3.js, and smart contract languages like Solidity are usually required.
Which blockchain is best for building a crypto wallet?
Ethereum is the most popular choice due to its developer tools and ecosystem. But wallets can also support Solana, Polygon, Avalanche, and others.
What tech stack is commonly used for crypto wallet development?
A common stack includes React for frontend, Node.js for backend, Ethers.js/Web3.js for blockchain interaction, and Solidity for smart contracts.
How long does it take to build a crypto wallet?
A basic wallet prototype can take 2–4 weeks. More advanced features like multi-chain support, staking, or DeFi tools may take a few months.
